The DRAM light on motherboard is an LED that shows when there's an issue with the dynamic random access memory (DRAM) you have installed. This light might turn on when you have faulty RAM modules, the RAM sticks are not installed correctly, there's not enough power going to them, and so on.
For many experienced PC builders, the DRAM light on motherboard is not something they have to frequently deal with. I have seen it lit a few times and I imagine it can be confusing when you see it for the first time. Fortunately, I've been able to fix DRAM light issues every time I see them and I'll show you how.
So, if you're wondering what the DRAM light is for and how to get it to turn off, you're in the right place for that. Let's get right into what you need to know.
Contents
The DRAM light on your motherboard is used to signal when there is an issue with the dynamic random access memory (DRAM) that is installed in the motherboard's RAM slots.
In other words, the DRAM light turns on when there's a problem reading the memory modules that are in your computer.
When this is on, your computer system is very unlikely to boot until you get to the bottom of the issue.
You might see an orange or yellow DRAM light, though this depends on your motherboard model. Either way, the color is just a choice and doesn't determine what's wrong with your computer.
Depending on your motherboard model, you might find your DRAM light blinking or solidly illuminated. What the light is doing can provide more info on the cause of the problem. Checking your motherboard's manual can give you more insight into this.
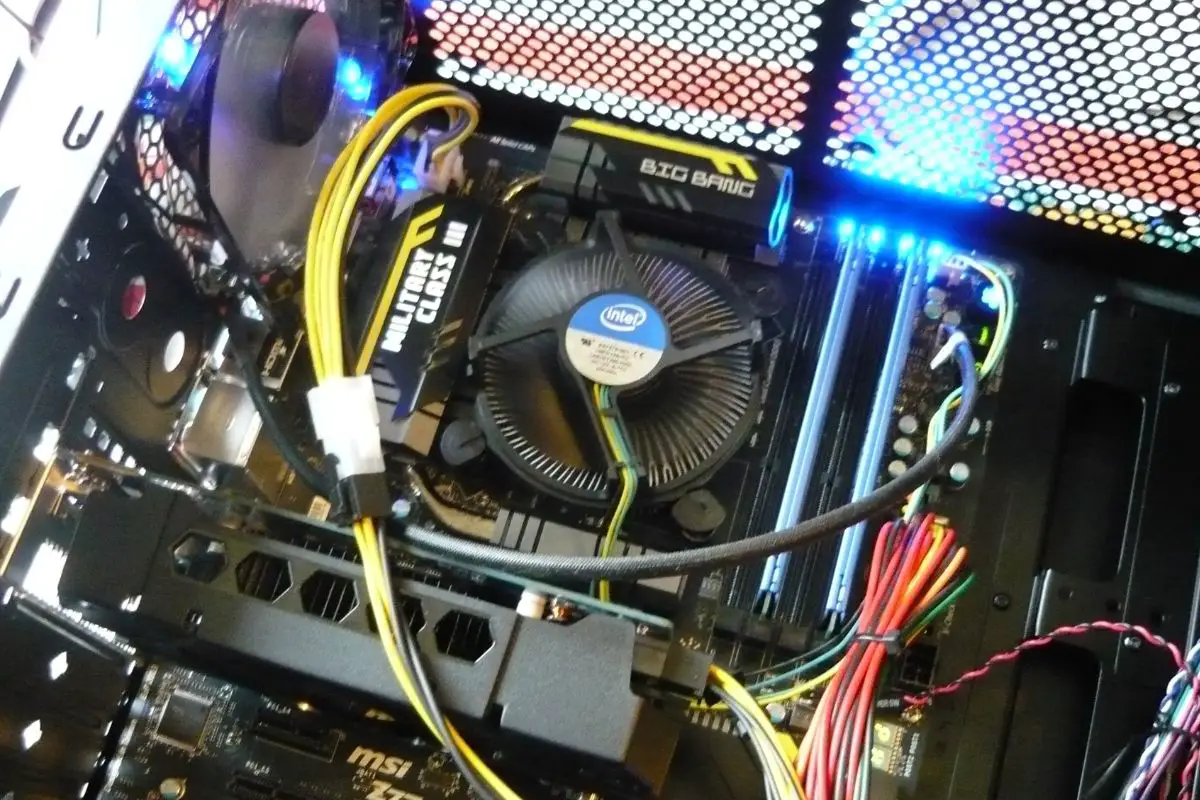
If you're looking for the DRAM light on motherboard, you will usually find it (and a few other LEDs) located somewhere very close to your RAM sockets.
Again, checking your motherboard manual or the manufacturer's website is the best way to find out exactly where your DRAM light is, but most models have them in the same general location (whether you're using an Asus motherboard or an MSI motherboard!).
There are several reasons why the DRAM light on your motherboard might be lit up. Knowing these can make the troubleshooting process much easier for you.
Here are the most common culprits.
One of the more common reasons why you might notice the DRAM light on motherboard is lit up is because one of your RAM modules is not seated correctly.
This is likely to be the cause if you encounter this problem after doing anything inside your computer case. You might have accidentally knocked a RAM module loose.
It can also be a result of debris or dust preventing proper contact between the RAM and the socket it is in.
When you buy RAM modules for your computer, you're going to need to make sure that the mobo that the sticks are going to be plugged into supports them entirely.
The good thing is that RAM types like DDR4 and DDR5 are physically incompatible, so you can't accidentally plug a DDR5 RAM stick into a motherboard that only supports DDR4.
However, it is different from other RAM specs like capacity and speed.
Most of the time, you'll be able to use any speed of the RAM module, even if the motherboard's support doesn't extend to speeds that fast. The RAM will be limited by the maximum speed of the board.
However, in the case of RAM capacity, some computers may not boot and will show a DRAM light if you are over the total supported RAM capacity.
Even if you have four RAM modules, if just one is faulty, you're going to run into issues booting your computer and the DRAM light on motherboard will come on.
Of course, the problem might be with more than one RAM stick but it is important to understand that it only takes one for the DRAM light issue to occur.
If you've been playing around in the BIOS settings for your motherboard in an attempt to overclock your RAM modules and get a bit more performance out of them, that's fine.
However, if you install new RAM in a motherboard with adjusted BIOS settings, and that new RAM does not support the memory settings you chose, you might see your DRAM light come on.
All the RAM modules in your PC require a sufficient supply of electricity to work properly.
In a case where there's something wrong with your power supply unit such as it being faulty, or your power supply unit cables not installed correctly, the DRAM light on motherboard might come on.
There are various reasons why your DRAM LED might come on, but there are also many ways that you can fix DRAM light issues in your computer.
You'll need a little bit of technical experience for most of these fixes since you'll have to go into your computer case. Just make sure you know what you're doing.
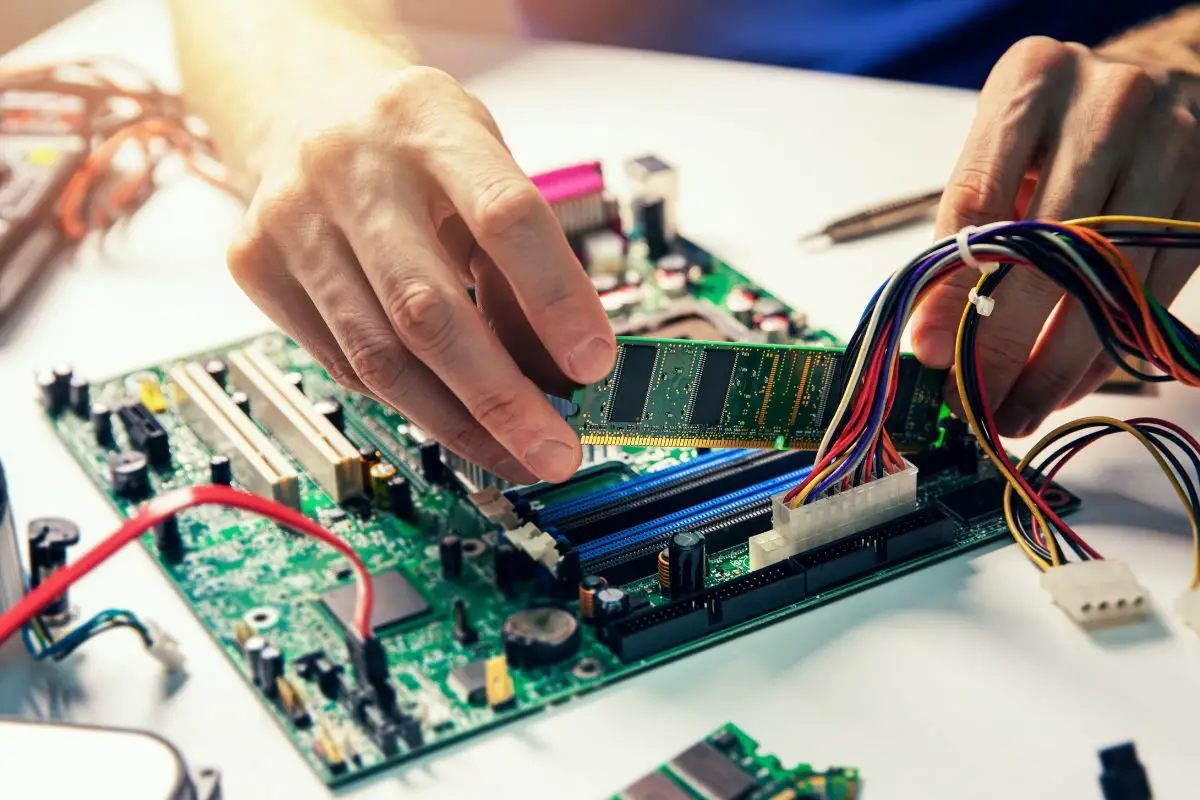
The first thing you should try and do to fix your DRAM light problem is to remove your RAM modules and properly reseat them.
Like that, you've been able to reset your computer's memory properly.
I have found from experience that adjusting the configuration of your RAM sticks, in terms of the slots they are inserted in, can fix DRAM light errors.
In some cases, the slot for your memory might be faulty so trying another can help.
However, I also recommend ensuring that your RAM runs in dual-channel mode, so if you have four RAM slots and two RAM sticks, make sure that there's exactly one space between them. Many motherboards make this easy because they color-code the RAM sockets.
If you have a faulty RAM module hiding among the ones you have, testing them one by one can help you pinpoint the culprit.
With your computer off, take out all the RAM in your computer. Then, pick a single memory module and install it. Press your power button to try and turn the computer on.
If it turns on, you can take that specific stick out and try another memory module. Do this until you find the one that doesn't work and that makes the DRAM light on motherboard light up.
You can set the faulty RAM stick aside and continue using your computer.
This might end up being more than one, but if not a single one of them works, then it is unlikely that your actual RAM is the problem.
If you have enough extra RAM modules laying around at home, you can simply take out all the RAM in your computer and put in a new batch.
If it ends up working properly, then you know that the problem was with at least one of your modules. You can either decide to pinpoint the exact one that was the problem or just get straight into using your computer!
If you knew the faulty memory module from the start, you only need to replace that single one to get your DRAM light to turn off.
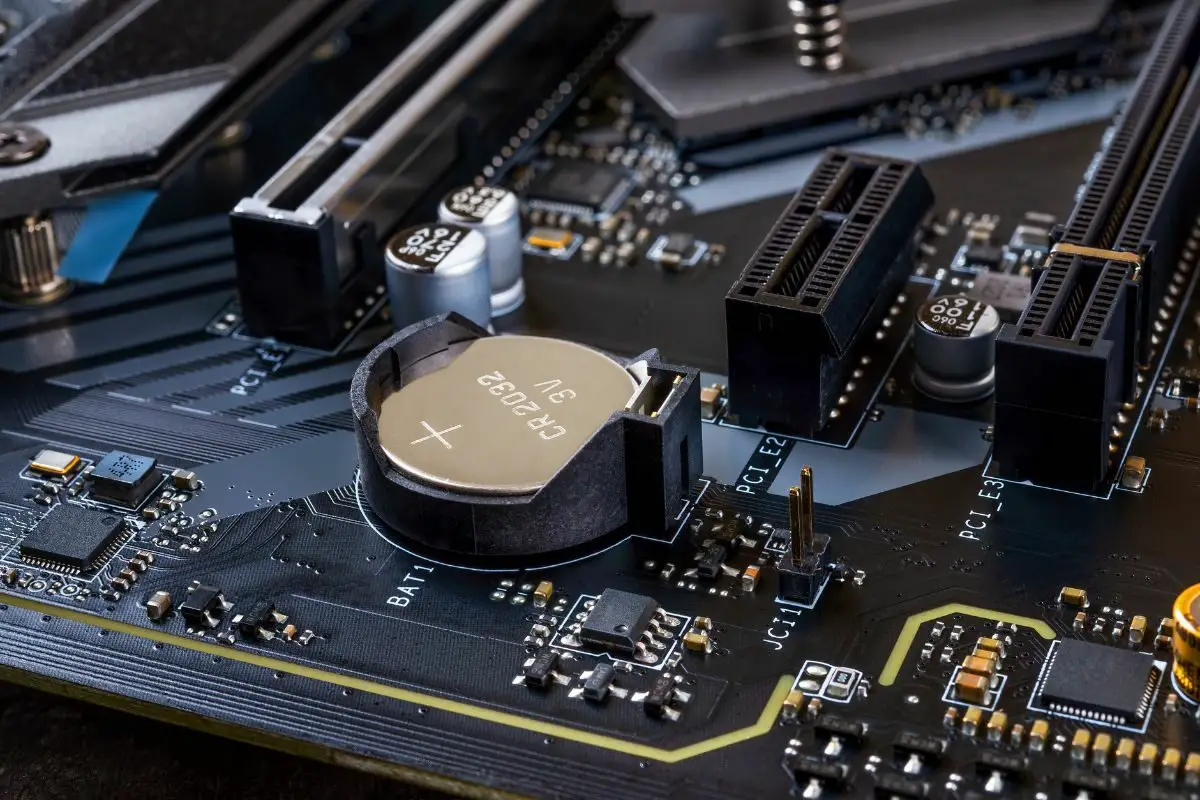
If the problem persists and it doesn't seem to be a RAM module behind it, you can attempt to clear CMOS. A lot of the time, this works.
To do this, you'll need to locate the CMOS battery on your motherboard. It's pretty easy to find it because it is a large, flat silver battery.
The CMOS battery provides the minimal amount of power that your motherboard needs to maintain BIOS settings and time, even when the PC is switched off and unplugged. Taking out the CMOS battery basically resets your computer.
Once you find the CMOS battery, simply pop it out of the motherboard. Some motherboards have the CMOS battery connected by wire to a header. Just pull that header out. After that wait a minute or two.
While this is sometimes enough, you can hold the power button down for about a minute to completely discharge any residual power.
However, note that some motherboards have a CMOS reset header or button.
If it is a button, you might find it on the board itself or with the I/O ports. Depending on the motherboard model that you have, you might need to press this button when the computer is on. You can check the documentation to be sure.
If you have a CMOS reset header, it will be right beside the battery. It will either be a two-pin header that says JBAT1 or a three-pin header that says CLEAR_CMOS.
If it is JBAT1, you just need to place a jumper on those two pins. You can "borrow" a jumper from anywhere else on the board. Make sure to put it exactly where you took it from when you're done.
If it is CLEAR_CMOS, there is already a jumper on two of the pins (1 and 2). Just take it off and put it over the other pins (2 and 3). That's all!
Your RAM needs a proper power supply to work reliably. When the supply is unstable or not enough, it can result in the DRAM light on motherboard turning on.
The first thing to do is make sure that each power cable from your PSU is properly installed in the appropriate sockets on the board.
You can reference the manual for your motherboard to make sure that you've plugged each power cable in properly.
If this doesn't do the trick, you can try out a spare power supply unit if you have one.
Many motherboards allow you to overclock your memory, even if they don't give you the same benefit with your CPU. However, this might be the reason why you're dealing with a DRAM light error.
If your motherboard supports RAM overclocking and you've messed around with it before, you should make sure it is disabled. Overclocking an incompatible RAM module can be a problem.
The steps depend on the exact motherboard that you have:
You will usually find the setting to overclock your system memory in an Advanced or Performance menu.
Whether you used an XMP profile or overclocked your RAM manually, you might want to turn it off just to see if that fixes the issue.
It might not seem like your DRAM light issue can be caused by dirt and dust, but it really can.
When there's enough dust or debris in your PC case that some of it gets into a memory slot, it can affect the contact between the module and the RAM slot that it is in.
Turn off your PC and take a good look around the motherboard, particularly the memory slots. If you see any dust around or inside the slot, clean it off using a soft cloth, a Q-tip with light pressure, or compressed air.
Once you're done, check the contacts on your RAM stick — the gold portion — and make sure that there's no corrosion or grime of any kind on it. If there is, clean it off before plugging the module back in.
It might not seem like it, but one of the rarer causes of your DRAM LED light turning on is a problem with your CPU.
It could be because there's an issue with how your processor is seated, typically when the CPU pins have been bent. It could be because your CPU heatsink is applied way too tight.
Either way, the key is to take out your processor and find out what the problem is. You can follow these steps to try and make it a bit easier.
The DRAM light on your motherboard can turn on when your RAM isn't properly installed, any of your modules are faulty, your CPU pins are bent, or you have incompatible RAM in your PC.
The good thing is that there are many fixes you can try to get things working correctly again. You can reseat the RAM, change the slots they are in, try new RAM modules, or disable any overclocking. You can also reset CMOS, make sure your power supply is properly connected, reseat your CPU, or simply just clean the motherboard.
Was this article able to help you get that DRAM light off and your computer working like normal again? If so, take a look at our related articles to learn many more helpful tips.