Front panel connectors are a collection of pins on your motherboard that connect to your PC case's front panel. Also known as the front panel header, this section on your motherboard controls your power switch, reset switch, beep code speaker, and power and hard disk lights.
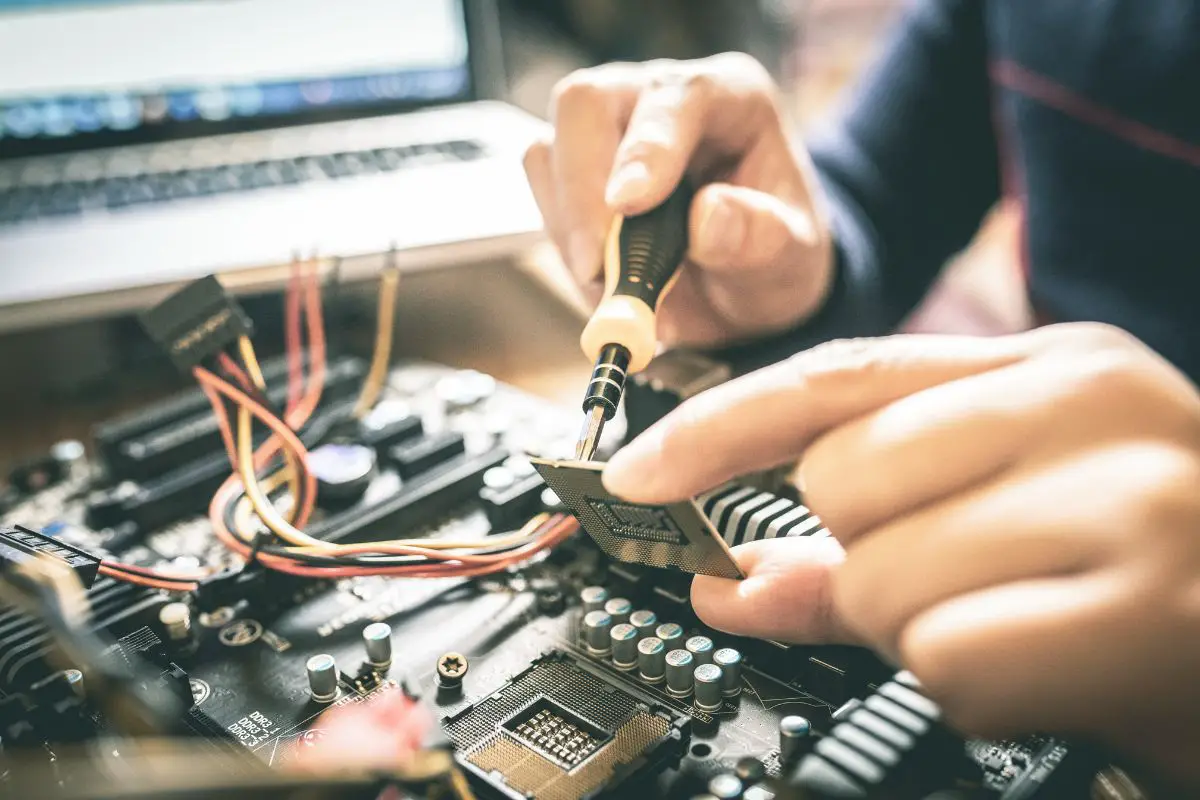
When assembling a computer, it's easy enough to plug in the hard drive, RAM, and power supply. However, without understanding the front panel connectors, you won't be able to even turn the computer on. I learned this early in my PC building journey, and now I could probably connect my PC case to my front panel header with my eyes closed!
So, I've put this guide together to teach you more about front panel connectors. Let's find out.
Contents
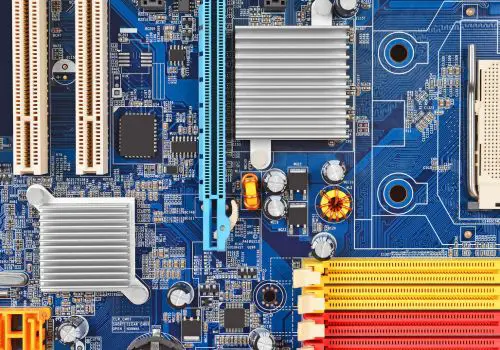
If you look carefully at your motherboard, you'll find a rectangular block of pins somewhere. Collectively, these pins are known as your front panel connectors. You might also hear them referred to as the front panel header or F_PANEL though.
Your motherboard is responsible for bringing all the different hardware components together. As the name suggests, the front panel connectors are where you connect your motherboard to the front panel of the PC case.
The front panel header is so important because it allows the switches and LED light indicators on your computer case to work.
Keep in mind that even though they are referred to as front panel connectors, depending on your case, they may not always be on the front. These days, some cases might have the typical front panel switches and lights on the top, for instance.
If you're putting together a computer, you need to know what the front panel connectors look like.
There are three basic ways you can locate where the front panel headers are on your specific motherboard model. You can either check your motherboard manual by looking for the front panel connector labeling on the board or check their typical location.
Your motherboard's manual is the most reliable way to check where your front panel connectors are. You will also see what each set of pins controls on the front panel.
However, you might no longer have your physical motherboard manual. Fortunately, you can download a copy if you check the manufacturer's website.
Every motherboard has text printed on it. Most of this text, especially when beside a component, indicates what it is. For instance, your front panel connectors will usually have "F_PANEL" written near them.
If you carefully look along your motherboard, you're bound to find where these panel connectors are.
You'll also see the labeling indicate which light or switch a set of pins controls.
If you can't get the manual for your motherboard model and you're not ready to look over all the tiny text printed on your motherboard, you can simply do what I do.
Just look near one of the corners of the motherboard for a rectangular collection of pins. There will typically be more than 15 of these on modern models. These are your front panel connectors.
You can then look at the labeling to tell what each set of front panel pins is for.
However, if you're not sure about what you're doing, I wouldn't recommend going with this method.
The typical motherboard comes with a lot of front panel connector pins, but these tend to control five primary functions of the PC case.
Let's get into each of them below.
The power switch pins are the most important ones among the front panel connectors.
Without these pins, you won't be able to easily turn your computer on. As a result, it is necessary to at least have this front panel connector set up, even if you don't bother with the rest.
Here's some bonus information for you. If your computer's power switch doesn't work or it has fallen out, there's still a neat way for you to be able to turn on the computer.
If you're going to try this, make sure to be precise.
By using a flat-head screwdriver to touch the two front panel connectors that control the power on button, it'll turn on right away.
This is just a crude way of doing what the power switch button is designed for - make a circuit between those two pins.
You might not end up using your computer's reset button too much, but it doesn't mean that you shouldn't get the reset switch pins connected properly.
The reset switch can be used to restart your computer instantly. I don't recommend using this regularly, but you'll find that a reset switch comes in handy when your computer crashes and you can't restart from the OS.
The power LED pins are the front panel headers that turn on the LED light that lets you know when your computer is on.
The hard disk LED pins connect to an LED light on your front panel that flashes when your hard drive is being accessed.
The speaker pins are typically the most confusing part since the front panel connectors since PC cases don't have speakers.
Well, they don't have a speaker that you can use to play music, but they have a beep code speaker.
As an average user, you might never need to get involved with the beep code speaker, but it can help with troubleshooting when your computer won't boot properly.
The number of beeps from the beep code speaker can be used to identify what part of your hardware is causing the problem.
This is the least likely of the front panel connectors to be seen, as the average PC case doesn't have it.
A chassis intrusion sensor lets you know when the PC case is open or has been tampered with. However, it needs to be connected to the appropriate front panel connectors to work.
Now that you know about the front panel connectors and what they are for, all that's left to do is to connect them to the system panel cables.
If you look inside your PC case, you'll find some cables emerging from the front panel or wherever the buttons and LED light indicators are located.
Each of these cables will be properly labeled on the plug end, so you can tell which one does what.
You will notice that the LED front panel connectors have a "+" and a "-" over either wire. This is because the cables for the LED indicators need to connect to their front panel headers in the right orientation. The lights won't work when flipped incorrectly. The front panel power connectors can be plugged in either way, however.
Keep in mind that not all the pins on the motherboard will need to be occupied, as your case might not have all the front panel cables. For instance, some cases don't come with a reset switch or beep code speaker, and that's fine. It doesn't affect the process.
Now, armed with your motherboard manual or looking closely at the motherboard labeling of the front panel connectors (especially the "+" and "-" for the LEDs), you should be ready to plug in all the cables.
I recommend that you start by connecting the power button cable. Plug it into the front panel connectors. If you have it plugged into the correct pins, the PC will switch on!
Once you have connected the power button cable to the front panel headers, you've done well. Just repeat the process carefully, with the remaining front panel connectors.
So, what are front panel connectors? These are the group of pins that you'll find on your computer's motherboard. They're responsible for controlling the different features of the system panel of your PC case. For instance, the power on button, reset button, LED lights, and chassis intrusion sensor.
Just make sure that you install the panel connectors properly, especially since you won't even be able to turn on your PC if the power cable isn't connected to the correct pins.