One of the biggest upgrades you can make for your PC is adding a more powerful graphics card. It can drastically improve performance when it comes to gaming, video editing, 3D modeling...etc.
How to install a graphics card on your PC
Installing a graphics card isn't all that complicated. However, if this is your first time attempting something like this, it can seem a bit intimidating. That's why I'm going to be walking you through the installation process step-by-step, breaking things down so that even someone who's never dismantled a PC case can get it done.
Let’s get started with how to replace graphics cards.
Contents
A common issue you might face when installing a graphics card is that the new card might not be compatible with the current display drivers. In that case, the new card won't work properly if at all.
To uninstall old drivers, follow these simple steps:
1) Open up your Device Manager. You can search for it in the start menu or access it via the control panel. If you're using Windows 8, you can bring it up by pressing the windows and X keys together.
2) In the device manager, navigate to the 'Display Adapters'. Locate your current display adapter, right-click, and click uninstall.
Once the drivers have been uninstalled, you'll notice that your display's quality has reduced drastically. For instance, the icons might have gotten larger and the text may seem blurry. Don't worry, things will return to normal once you've got the drivers for your new graphics card installed.
With that taken care of, turn off the computer and proceed to the next step.
Even with the computer turned off, you still haven't completely mitigated the risk of an electric shock. To protect yourself completely, you'll need to ground yourself.
The best way to do this is by wearing an anti-static wrist strap that's connected to a piece of metal. If you aren't able to get one, then a good alternative is to touch a metal water tap.
A carpet can cause static electricity so if your computer is sitting on one make sure to move it elsewhere. Make sure that you're not standing on the carpet either and if possible move to a tiled or linoleum surface instead.
With the computer powered off, it's time to open up the PC case. Most modern cases come with thumbscrews on the rear which makes it a breeze to take off the side panels. However, if you've got an older PC case, you'll need to remove screws to take it apart.
First of all, locate the motherboard I/O panel. It's easy to find as it's the panel that contains your display, USB, and Ethernet ports. What you want to do is remove the panel that's located on the opposite side of this. This will then give you convenient access to the motherboard.

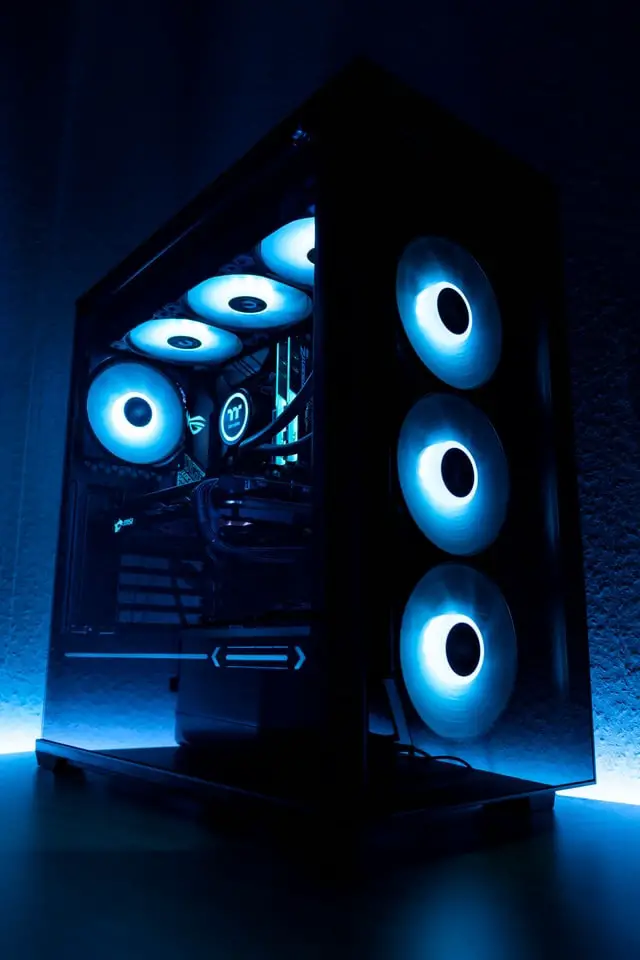
Graphics cards are mounted onto the PCIe slots on your motherboard. Modern graphics are easy to spot because they're fairly large and sometimes they may have fans and heat sinks attached to them.
Note: if your computer uses integrated graphics then you won't see anything mounted on the graphics card slot. In that case, skip ahead to Step 5.
Removing a graphics card is a fairly easy and quick process:
1) Locate the rear bracket of the PCIe slot which connects the card to the chassis and unscrew it.
2) Unlock the PCIe slot clip which holds the graphics card in place.
3) Carefully remove the graphics card. Make sure to tug lightly and pull it up straight to prevent damage to the PCIe slot.
Before you mount the replacement graphics card, I highly recommend that you take this opportunity to clear the slot of any dust. Powerful graphics cards tend to generate a lot of heat, especially when you're overclocking. Dust can exacerbate the situation causing your graphics card to overheat.
I recommend using a can of compressed air to blow dust out of the PCIe slot. It's easy, quick, and effective, even when it comes to clearing out the tight crevices around the slot.
Here are the steps for setting up new graphics cards:
1) Clear enough space for the card if needed. You may need to remove the adjacent panel if the replacement card is too wide for a single panel. Also, make sure that there aren't any cables or components that might get in the way of the graphics card.
2) Take out the card from its packaging. When handling the new graphics card, take care not to touch any of its contacts or circuitry.
3) Carefully insert the card into the empty PCIe slot while keeping it upright. If you insert it at an angle, you may risk damaging the slot.
4) Slowly apply pressure to the top of the card until you hear the secure lock click into place.
5) Screw the rear bracket found on the PCIe slot. In case your graphics card requires two panels, you'll want to secure it with two screws.
6) Certain high-end graphics are quite power-hungry so they'll need a direct connection to your Power Supply Unit (PSU). These graphics cards will come with power supply connector ports, typically located on the top or in the rear. Using 6-pin cables connect one or two PCIe connectors from your PSU to these ports, depending on the graphics card's requirements.
After securing the graphics card into place and connecting it to the PSU (if needed), you can reattach the side panel.
Now you can plug in the display to the graphics card via the appropriate port on the panel, whether you're using DisplayPort, HDMI, DVI, or VGA.
DisplayPort and HDMI provide the best graphics quality but you may not find them in older or budget motherboards. In that case, you'll probably have to settle for DVI or VGA.
We’re not done just yet though.
In this step, we’re going to learn how to install new graphics card drivers. Your replacement graphics card will need updated drivers to function properly.
How to install graphics card drivers (windows 10/8/7):
1) First, turn on the PC. If you installed the graphics card correctly, your operating system will register the new graphics card and optimize the display's resolution and depth of colour. You may be prompted to accept the changes. Click 'Accept' and proceed.
What if nothing is displayed?
This means that something has gone wrong with the installation and the most likely cause is improper mounting. Open up your PC case again and confirm whether the PCIe secure lock has clicked into place.
What if the picture on the screen is distorted?
This is most likely a problem with the graphics card. If you've already confirmed that the graphics card is installed properly, then the best course of action is to get in touch with the manufacturer.
2) The next step is to download the drivers. The manual or installation guide that came with the graphics card will contain a link to the drivers download page. If you can't find it on there, try an internet search with the make and model or visit the links below:
3) Once you've found the relevant drivers for your make and model, install them. The process is largely automatic so you don’t need to know how to manually install graphics drivers. You may be asked whether you want to install any management software. These can help to make sure that your drivers are always up to date.
And that’s all you need to know about how to install graphic card drivers.
Once you’ve managed to install video card drivers, your graphics card should now be ready for use. Now you can load up a game or a 3D rendering software to give your card a spin.
If you're testing with a game, play around with resolution settings and see how high you can set it. Of course, your graphics card isn't the only thing that determines how well the game runs. Your RAM, processor, and hard disk impacts its performance as well.
And we’re done! Pat yourself on the back because you’ve successfully installed a graphics card on your own!
When you’re following this guide, make sure to adhere to the steps I’ve mentioned, such as keeping the graphics card upright while mounting it and cleaning out the PCIe slot. This should help you eliminate any errors during installation.
How do you know which graphics card is right for your PC setup? In this section, I’m going to show you how to determine whether a graphics card is compatible with the hardware you own.
As I've mentioned before, high-end graphics cards may require a large supply of power to function. So if you're thinking of getting a powerful GPU, you need to make sure that your PSU can adequately support it.
If you don't have a PSU that outputs a lot of power or it's hooked up to a lot of other power-hungry components, then you may need to upgrade before you can install a high-end graphics card.
How can you check if your PSU can work with a certain graphics card?
Sites like techpowerup give you detailed specs of a graphics card, including their Thermal Design Power (TDP). Simply cross-check the card's TDP with your PSU's power output.
You'll also need to confirm that your PSU has PCIe connectors. Most modern units have them but if yours is older than ten years, you may have to buy adapters to make it compatible with the graphics card.
Pretty much all modern graphics cards require a PCIe slot to mount so you'll need to make sure your motherboard has at least one (and in the right size).
PCIe slots can be hard to locate if you don't know what to look for. So I'd recommend taking a look at your motherboard's manual for the layout diagram. It should point out where they're located. If your motherboard doesn't have any PCIe slots, then you'll have to buy one that does.
Once you’ve found the PCIe slots, you need to make sure that they’re the right size for the graphics card. Sizes are often denoted as ‘x16’, ‘x8’, ‘x4’…etc. ‘x16’ is the largest PCIe port size and it’s what a lot of modern high-end graphics cards require.
In addition, you also need to make sure that the graphics card has enough vertical clearance. Refer to the card’s product specs and find out how tall it is. Then, using a measuring tape, see if there’s enough clearance for this height on the motherboard.
People upgrade their graphics cards to get better performance from their computers. But how much of a performance increase do you need? Knowing this will help you get the best bang for your buck while shopping for a new GPU.
There isn't just one metric that measures the overall power of a GPU. Instead, consider a few different aspects:
V-RAM
V-RAM or Video RAM refers to a temporary video and image storage. The more V-RAM a GPU has, the greater its ability to render detailed graphics.
Shading Units
Shaders are programs that apply a variety of effects to 2D and 3D objects. Shaders are responsible for things like hue, lighting, shadows, blur...etc. and are essentially what adds realism to graphics. Hence the more Shading Units a graphics card has, the more details it can render and nuance it can render.
Texture Mapping Units
Texturing Mapping Units or TMUs are responsible for all the different textures you see in video game objects, such as the figuring on trees and the wrinkles on clothing. The greater the number of TMUs a GPU has, the faster it can load textures on screen.
In addition to these, also pay attention to what sort of special features the graphics card comes with. For instance, certain NVIDIA cards come with ray-tracing which uses AI to produce very realistic lighting.