The easiest way to dedicate more RAM to a game is to use a high-priority setting for it. Besides that, a few games come with a native setting to allocate RAM.
As someone who has spent countless hours trying to squeeze every last bit of memory for my games, I can tell what works and what doesn't.
Well, you won't be rolling Cyberpunk at 4K on your 8 gig machine yet, but you should see an improvement in lag and FPS if you follow this guide.
Keep reading if you want to learn how to allocate more RAM to a game, without spending a single penny on RAM upgrade.
Contents
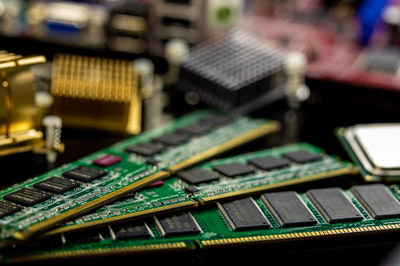
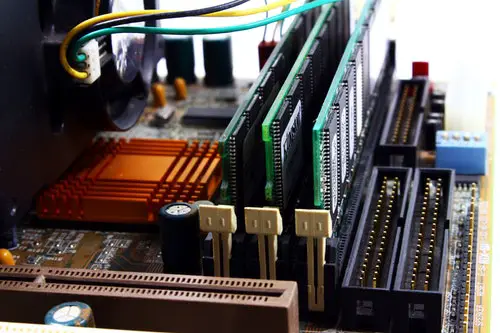
No, we're not talking about adding larger sticks to your rig. Turns out there's a workaround to overcome RAM limitations using only software.
The easiest way to devote more ram usage to certain games is by using the set priority option in task manager.
Here are the steps:
Keep in mind that while Windows will now allocate more RAM and CPU to this application, it will in turn shrink system RAM available to other apps.
This works well if you just want to use one app at a time, as you can take full advantage of your computer's RAM for this one specific app.
However, it isn't the only method to assign more memory to games. Let's talk about some of the secondary methods.
Another effective method is when a particular program or game comes with an option to allocate RAM natively. In some applications like Adobe Premiere Pro and games like Minecraft, you can manually allocate more RAM via app settings.
For instance, in Premiere Pro, you can designate more RAM (under Edit > Preferences > General > Memory) to be reserved for other programs or background apps. The rest of the memory will automatically be set aside for Premiere Pro.
If you find such an option within your game, you're in luck!
Now let's explain this in detail with the example of Minecraft.
This seemingly simple game can get intensive once you start playing around with heavy builds and mods. Luckily, Minecraft allows you to allocate more memory to it using the following steps:
You should see a difference in performance in most cases. Keep in mind that this method is specific to Minecraft and each program will have a different process of allocating RAM if any.
Nevertheless, this is one of the most effective ways to get a game to use more RAM.
Virtual Memory is simply a small chunk of your storage (Hard Drive or SSD) that is designated to emulate your computer's Random Access Memory (RAM). It's also called a paging file.
Whenever your PC is running low on memory, it starts moving information to the paging file.
Does this mean that 16GB RAM coupled with a 16GB paging file will give the same results as having 32GB physical memory? Well, no.
Your Storage device is likely much slower in comparison to the RAM, and consequently, any virtual memory is going to be a lot slower as well. Increasing it won't make your games run faster.
The paging file only limits any error that might occur due to memory overflow. It isn't a replacement for additional RAM.
Like the other methods above, you can't manually adjust Steam games to use a certain amount of memory. However, with a bit of tinkering with the settings, you can fix lag and low FPS problems using the in-app 'Launch Options'.
Follow these steps:
This will ensure that adequate RAM is available for the best performance of Steam games.
The second trick to enhance performance is to turn off the Steam overlay feature. You can do this by logging into your Steam account and unchecking the Steam Overlay option under Preferences > In-Game. This can be useful if you're video streaming or you're on a slow network.
Common reasons for running out of RAM include having too many programs or background processes running, antiviruses, too much cache, or outdated applications.
Here's a little checklist to keep your RAM usage in check:
How do you know when it's time to purchase more RAM vs. perform a few software tweaks?
Simple, if one of the above methods works for you, you can put off your RAM shopping for some time later.
If you wish to allocate more RAM to a game, the best way is to set it to a higher priority. Limiting playback processes and other programs won't hurt either.
The methods discussed in this guide will add to a better gaming experience and possibly save you some money too.
Now that you have a trick or two up your sleeve, you can finally enjoy playing your favorite game without needing to spend anything on hardware upgrades.