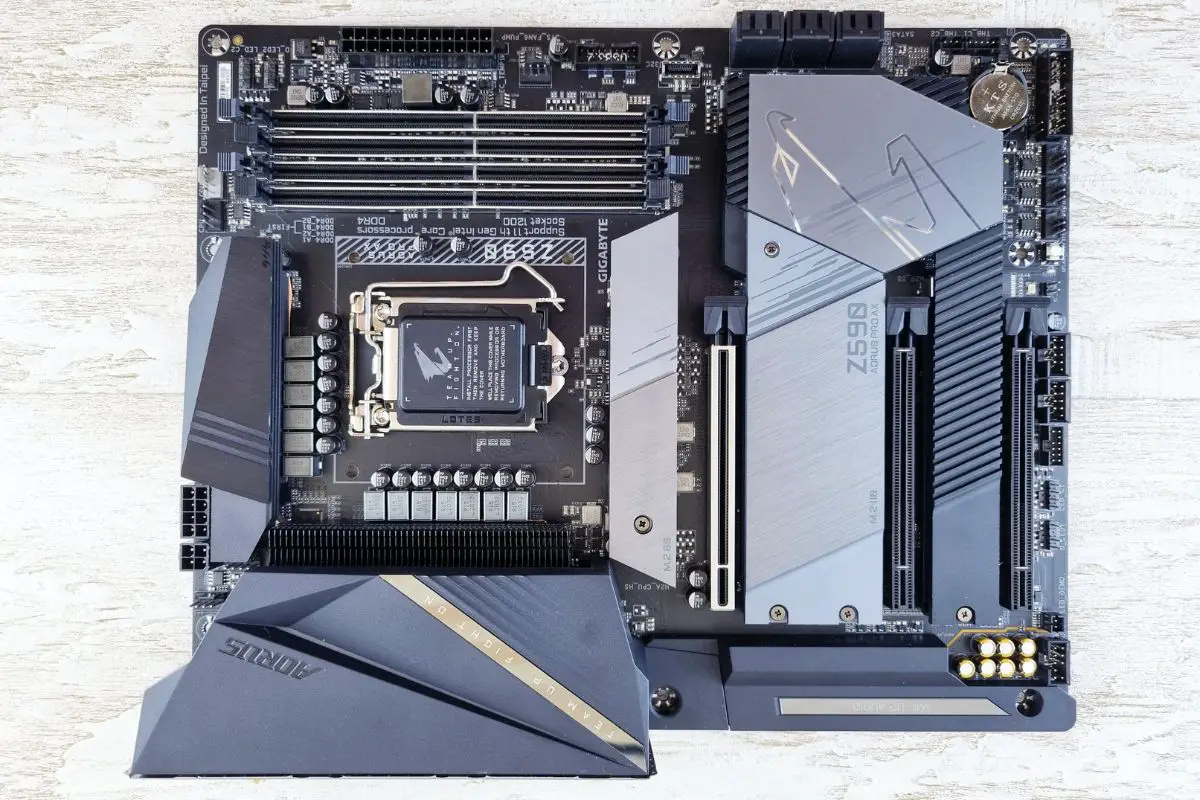
One of the headers on your motherboard is named "JFP1". The JFP1 header stands for "Jumper Front Panel 1". It might also be called "F_PANEL", "FP1", or "FRONT_PANEL", depending on the manufacturer. It controls the switches and LEDs on the front panel of your PC. Without the cables from the front panel connectors correctly connected to the front panel header, your front panel features might not work properly.
When building a PC for the first time, you might run into a lot of terms that need clarifying. I remember my first computer build; I struggled with connecting my computer's front panel connectors, but with trial and error and a lot of reading, I was able to fully understand the JFP1 header and how to connect them right.
So, if you've been wondering, what is JFP1 on the motherboard, this article will explain it in detail. Let's get right into what you need to know.
Contents
The JFP1 header on your motherboard stands for "Jumper Front Panel 1" and it is responsible for receiving the cables from your computer case's front panel connectors.
It goes by other names, like "F_PANEL", "FRONT_PANEL", and "FP1", but they all do the same thing.
This basically allows all the features and functionality from the front panel of your PC case to work appropriately with your motherboard.
If you don't plug the front panel connectors into this header the right way, you'll either end up with buttons and LEDs that don't work at all or don't do what they're supposed to do.
Of course, it is important for you to know the exact functions that the JFP1 header takes care of. This can help a lot for someone who builds their own computers, especially with troubleshooting.
Now, the part that comes after knowing all about JFP1 is how to actually hook up your front panel connectors to them.
Well, to do this, you'll need to switch off and open your computer, and have access to the motherboard and the cables that come out from inside the case, usually emerging from somewhere near the front.
Keep in mind that some computers have their lights and panel buttons on the top surface. In practice, this still counts as the front panel.
Also, note that not all the cables that come from inside your computer case connect to JFP1. Some of them are for other LEDs, USB ports, and fans. It is important to read what is written on each case connector to make sure you have the right ones.
Now, once you've been able to access your front panel connectors with your computer off, it is time to make sure your connectors connect to their corresponding pins.
The best way to do this is to reference your motherboard manual. Each specific motherboard model may have its JFP1 header in a different spot, and it will also be able to show you which connector goes where. Even if you don't have the physical manual, you can download it from the manufacturer's website.
There will also be a small legend printed on PC motherboards near the JFP1 connector pins. You can use this to guide you on how to make the right connections.
However, if you can not use the manual or the legend for some reason, you can attempt to get your front panel connections in place through what is the typical jumper array for them. Follow the steps below:
Now that you're done, plug your computer back in, turn it on, and make sure that all your work was successful!
Generally speaking, the JFP1 connectors for your switches: both power and reset, do not need to be aligned one way or the other. They will work no matter which of the two ways you plug them in.
In the case of the connectors for your LEDs, you will need to make sure that the positive and negative wires align with the appropriate pins. Typically, the positive pin is at the bottom of the column of 4 or 5 pins, and the positive wire is the colored one.
Incorrect connections with the LEDs will cause them not to work at all, so make sure you plug them into the motherboard right.
You might notice that you might have a JFP1 connector or two that comes in two one-wire pieces. This is usually seen with the LED cables.
There really isn't a specific reason why a JFP1 connector might be like this. It is simply a choice of the case manufacturer, and to be honest, the inconsistency can be frustrating to deal with. But once you get used to it, it shouldn't affect how you get the front panel connected to your motherboard.
You don't have to put in every JFP1 connector before your computer will work. In fact, you can turn on a computer without any connectors (just bridge the PWR SW pins with a screwdriver).
However, they do make it easier for you to use your computer and interact with it, so it's always a good idea to have all these connectors plugged in.
JFP1 on your motherboard is used to control all the LEDs and buttons that are on the front panel of your computer's case. Each JFP1 connector from the case is labeled appropriately and has to be connected properly to the motherboard.
Once you have your connectors ready and installed, you will be able to use the power and reset buttons, as well as see the power and HDD lights working when the computer is on.
Was this article able to tell you everything you need to know about the JFP1 header on your motherboard? If so, take a look at our other articles to learn a lot more.