The process to connect power button to motherboard is relatively basic. You'll need to locate the front panel header on the motherboard first. Once you do, determine the power switch pins, which you can do with the motherboard manual. Then, just find the power switch cable among the front panel cables of the PC case and plug it into the power switch pins.
Although I haven’t kept counting, I've certainly built dozens of computers for myself and friends and family over the years. With this much experience, some parts of the process come to me very naturally, such as how to connect the power button on your PC case to the motherboard. Once you do it once, you’ll find it to be one of the easiest aspects of building a PC.
So, if you're looking for how to connect the power button to motherboard, then this guide is the one for you. Let's dive right into what you need to know.
Contents
Before I can get into how to connect the power button to the motherboard, I'll need to make sure you're familiar with the most essential components of this process.
Even if your computer knowledge is basic, I'll try to describe these components in a way that you can easily understand.
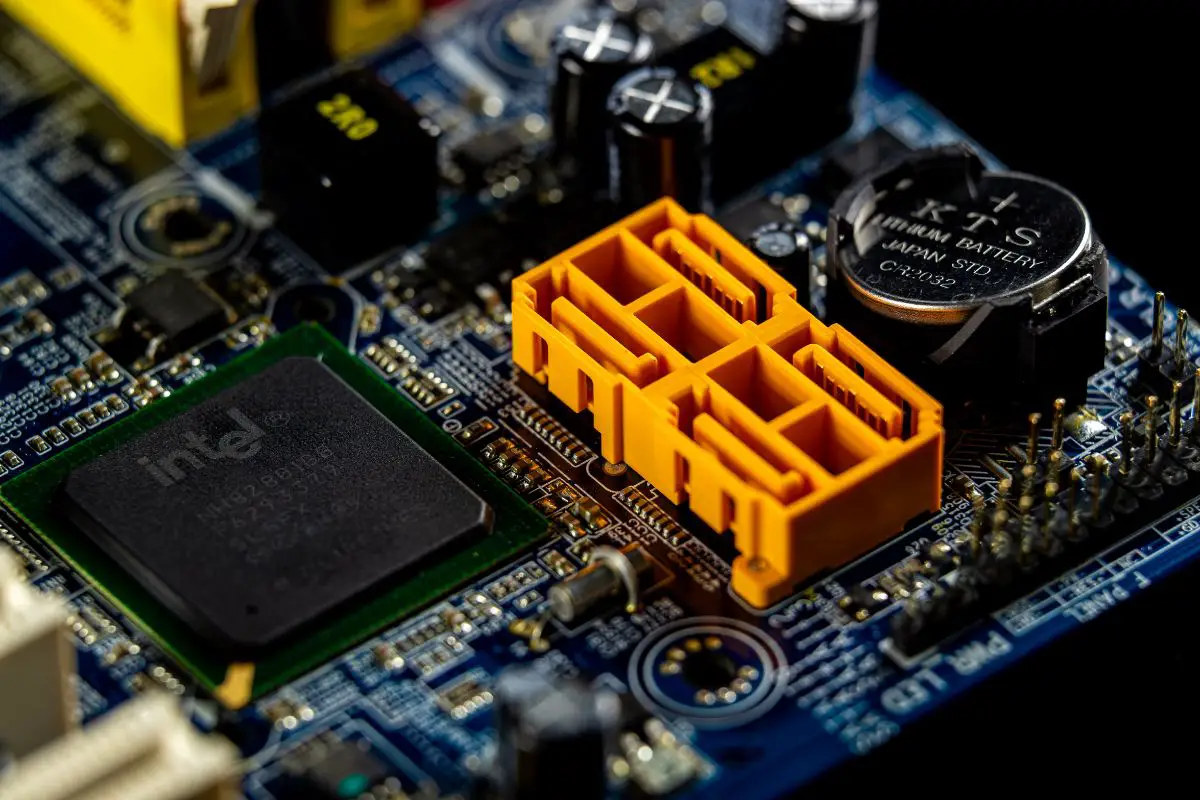
The front panel header also referred to as the front panel connectors or F_PANEL is a group of pins on the motherboard.
The front panel header is responsible for controlling the main components on the front panel of your PC case. Typically, these are the power switch, reset button, the LED lights for power and hard disk activity, and the beep code speaker.
The power switch pins are two of the many pins of the front panel header on your motherboard.
You can use your motherboard manual or the labeling near the front panel header to determine which two pins are the power switch pins.
The front panel power cable, which can also be referred to as the power switch jumper, is a cable inside the PC case that comes out of the front panel. It connects to the power button.
Multiple cables come out of the case's front panel, but the power button jumper cable will typically be labeled in a shortened form, such as "Power SW".
By plugging this power switch jumper cable into the two power switch pins on the motherboard, you'll be able to turn on your PC by pressing the power button.
Now then, we've got the necessary parts out of the way. Let's get right into the actual steps that you'll need to connect the power button to motherboard.
Before we get started, you'll need to make sure you have a screwdriver on hand.
Also, it is necessary that you switch off the computer and unplug it from the power source.
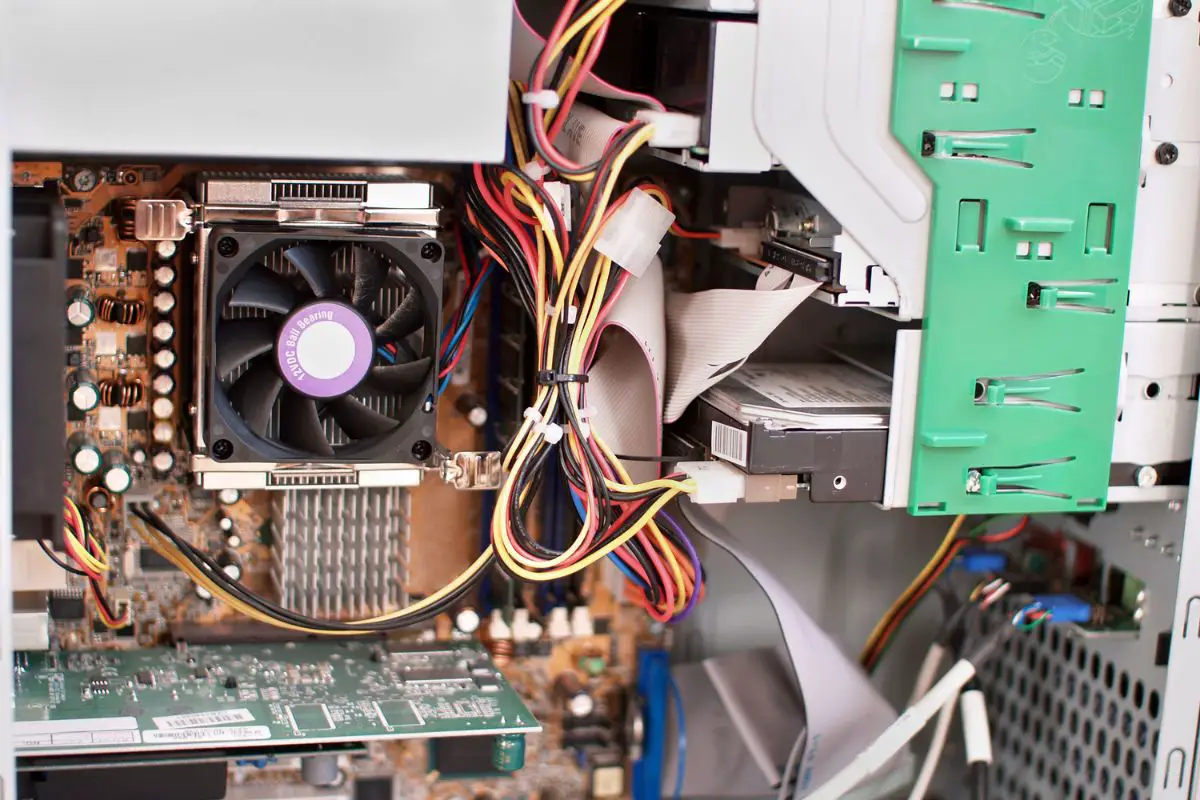
The first step to connect the power button to the motherboard will be to open the PC case. Otherwise, you won't be able to access the motherboard and other internal components.
In the typical instance, all you need to do is unscrew the screws at the back of the PC that hold the side panel in place.
However, this might differ depending on the exact PC case model that you have, so if it doesn't seem to work this way, make sure to check your manual.
Once unscrewed, slide the panel backward and lift it away from the computer to remove it.
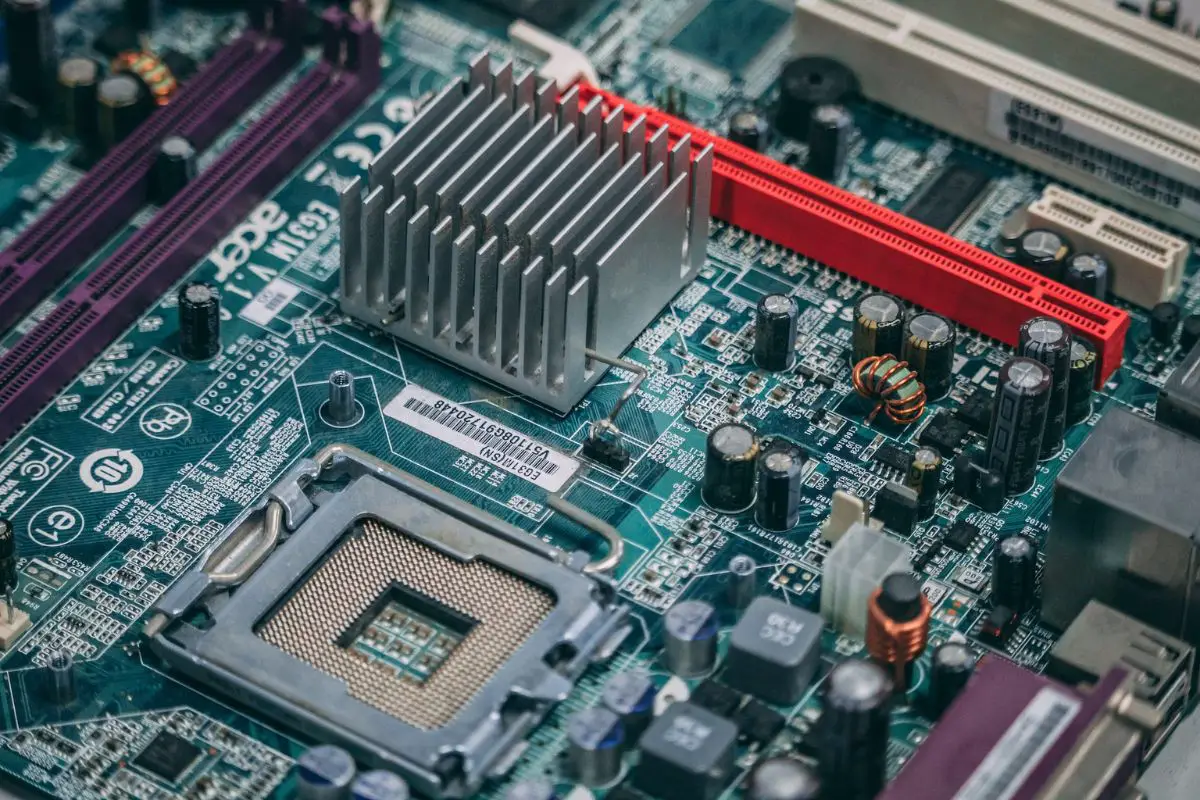
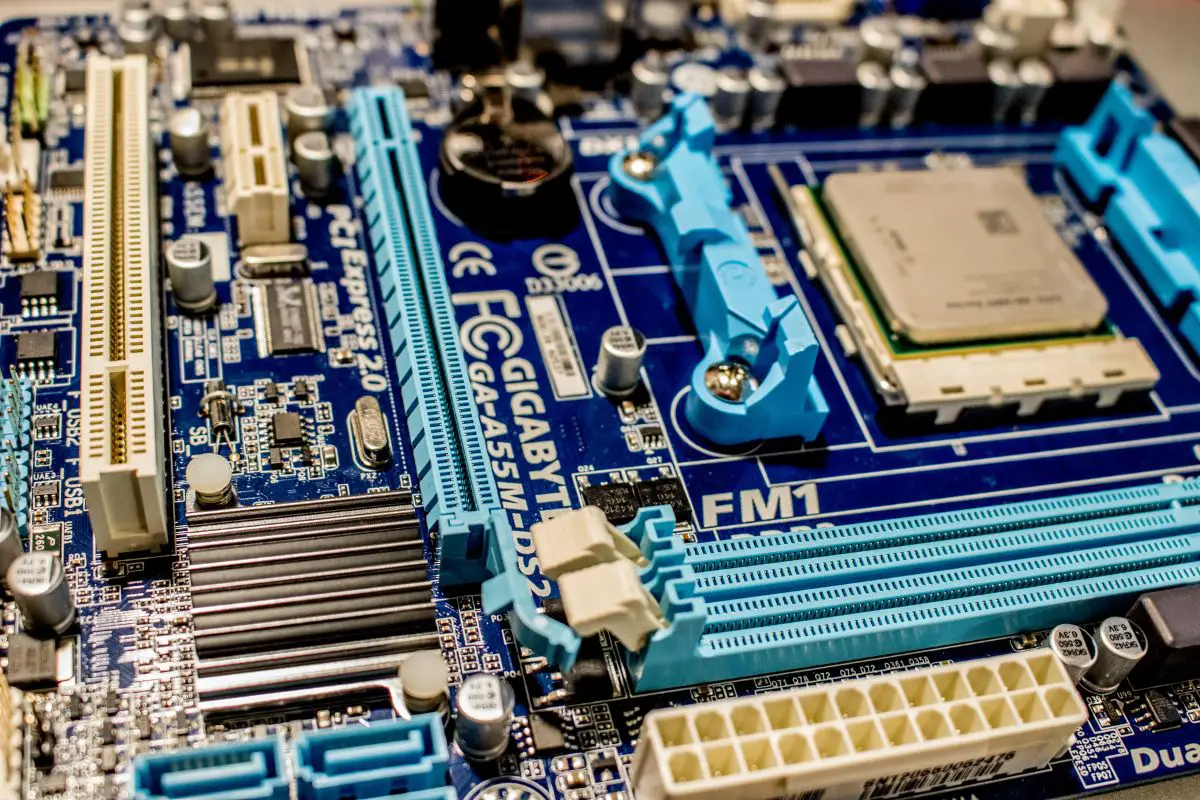
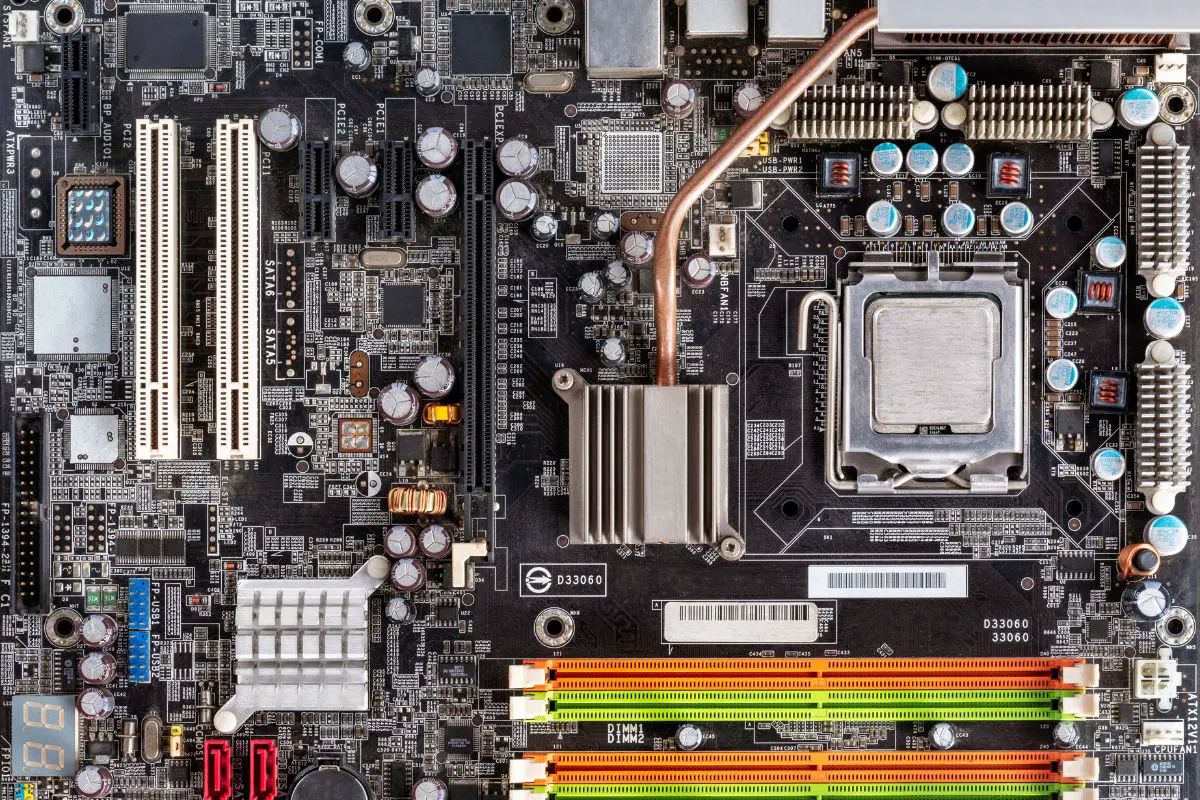
The motherboard is the big board inside your PC case that all the other components connect to.
Everything on the computer connects to the motherboard. You'll see the cables from the power supply unit, SATA cables from hard drives or optical drives, your PCIe extension cards, RAM sticks, etc. installed on the motherboard.
Finding the motherboard is easy enough, but locating the front panel header can be a bit tough.
The easiest way to do this is simply to grab the motherboard manual and check for the page detailing the front panel header.
If you don't have the physical motherboard manual any longer, you can usually search for the model number on the manufacturer's website and download a copy.
The front panel header tends to be a rectangular block of 15 or more vertical pins that is near one of the corners of the motherboard.
Now that you've located the front header panel, here comes the second-hardest aspect of trying to connect the power button to the motherboard. That's pinpointing the power switch pins.
This is another step where your motherboard's user manual comes in handy as it will give you a pretty clear schematic of the correct pins for the power switch.
If you check the motherboard well, especially close to the front panel header itself, you should see a similar schematic letting you know which pins are for what.
You'll know the correct pins because the schematic usually labels it as "PWR" or "PWR SW".
Once you're sure that you've located the power switch pins, you'll need to locate the power switch cable from inside the case.
This cable controls the power button, so it will emerge from the front panel of the case in most instances. However, if your case has a unique layout, such as having the power button on the top panel, you should look for a cable emerging from there instead.
There will be multiple cables coming from that part of your computer case though, so how do you know which is which?
All the cables have a black jumper on the end, each being appropriately labeled. Your power switch cable will usually have "PWR SW" or "Power SW" written on it.
If your computer case is damaged and you either don't have a power button cable or the power switch doesn't work, you can, fortunately, buy standalone power switch cables.
Here's a good example that even comes with a power LED. Just remember that you'll need to pass this cable to the outside of the case somehow. You'll usually find vents at the back of the case that works for this purpose.
Now, all that's left is to actually connect the power button to the motherboard. All this takes is to plug the power switch cable into the power switch pins on the front panel header.
By now, you should have located all the necessary components for this process, so all you've got to do is plug the power switch jumper into the power pins.
The good thing is that the power button cable is connected correctly regardless of the orientation. It doesn't matter whether you flip the jumper or not. This doesn't apply to the pins and jumper for LEDs though.
Once you've done this, you can finally plug your computer into power and test out the power button. If it turns on, you can tell if the motherboard fans start up, you can screw the side panel back on and pat yourself on the back!
If your power button isn't turning your computer on even after you've followed all my steps above, it's rather easy to get frustrated, especially as a beginner to building computers.
Don't worry, though, I'll walk you through troubleshooting this issue as best as I can.
The first thing I recommend that you try out to make sure that there's nothing wrong with power to your computer is to jump the power switch pins manually.
As I described earlier, use a metal object like a flat-head screwdriver to bridge each power switch pin.
If the computer turns on, there's something wrong with your power button or the jumper cable.
If the computer doesn't turn on, there's likely a problem with the power supply to the PC.
Take a good look at the cable that you plugged into the power switch pins. Make sure it is the power button jumper and not the one for the reset switch or LEDs.
Also double-check the schematic to make sure you're on the right spot on the front header panel.
If your computer didn't turn on even after trying to jump-start it, the computer likely isn't connected to power properly.
The PSU in your computer has two major connections to the motherboard. These are a 24-pin and an 8-pin connector.
Make sure both of these are firmly fitted into their slots on the motherboard.
If the power button still doesn't turn on the computer after this, make sure the power cable at the back of the PC is securely inserted.
If your computer doesn't have a power button - maybe because the power switch jumper cable is damaged or the power button itself simply doesn't work - you still have options to switch it on.
As I mentioned before, you can buy a replacement power button cable. However, if you don't want to do this, you can use a metal object to jumpstart the computer directly from the front panel header.
I certainly won't recommend using this as a long-term method of switching on your computer, but it works if there's a temporary issue with your power button.
To do this, you can grab a flat-head screwdriver and carefully insert it between each power switch pin. This will close the circuit between them (which is basically what the power button does) and turn on the computer.
Once again, I don't recommend this method, as your computer needs to be connected to power for it to work. If your hand slips and bridges any other two components on the board, it can cause a short circuit.
Connecting the power button to the motherboard in your computer is a straightforward process when you know the parts involved. You just need to be familiar with the front panel header, the power button pins on the header, and the power cable jumper from the case. Your motherboard's user manual can help you out here.
Once you locate all these components, simply plug the jumper into these pins and you'll be able to switch your PC on. Once you see the power LED turn on or the CPU fans spin up, you've done it right! You don't need to worry about the positive and negative sides of this jumper cable.
Connecting the power button to the motherboard is an easy process, and hopefully, this guide was able to walk you through it successfully. If so, take a look at our other articles, where you can learn a lot more.