To clean thermal paste, you should ideally have isopropyl alcohol, a microfiber cloth, paper towels, and a new thermal paste to replace the paste you remove. You'll need to take the heatsink off the CPU, and using a paper towel and isopropyl alcohol, wipe the thermal paste off the CPU and its cooler. Then, you can remove what's left with the microfiber cloth.
If your computer overheats, it might be time to remove your old thermal paste, especially if it's been a long time since it was applied. A friend called me about his computer which was overheating. I came over to help him and on opening his PC, discovered that his thermal paste was dry. I showed him how to clean thermal paste from his CPU and applied a new paste.
If you've been trying to figure out how to clean thermal paste off CPU and reapply new paste, then this is the article for you. Let's get right into what you need to know to get your computer running cooler.
Contents
If your computer is showing symptoms of having old thermal paste, it means it is time to clean it off the CPU. To get this done as effectively and smoothly as possible, there are some things that you'll want to make sure you have at the ready. These are:

Once you've got these by your side, you can get to cleaning thermal paste from your processor.
The first thing to do before you can clean thermal paste is to remove the CPU cooler that sits on top of the processor. This is how you get access to where the thermal paste is located.
Before you remove your cooler, make sure that your PC is switched off and unplugged from power. Also, unplug the little wire that gives the CPU fan power.
How you'll get your cooler off depends on the exact model that you use. Some use screws, while others might resort to clips.
The best way to know how to remove your heatsink is by checking the product manual or searching online.
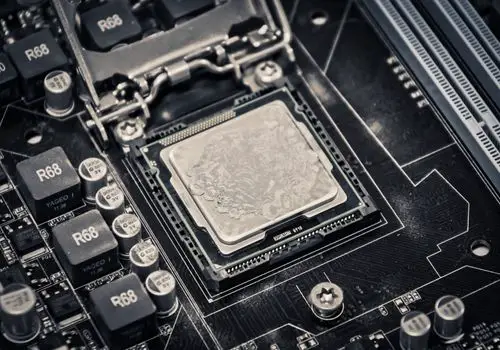
Once you've freed the restraints for the cooler, gently twist it left and right to free it of any thermal paste that has dried and stuck it to the processor. Once it starts moving freely, pull it upwards and put it aside.
Now, it's time to actually remove the thermal paste from your CPU.
Note that you don't need to remove the processor from the CPU socket! You can clean it just fine with it installed, and removing it increases the risk of damage to the CPU pins.
Now that you've cleaned your CPU, you might be very excited to get it running again, but you need to be patient. You will have to let the CPU dry completely before proceeding. I recommend waiting about an hour if you use 99% isopropyl alcohol. The lower the number, the longer it will take to dry.

While waiting for the CPU to dry, you can also clean the excess thermal paste from the CPU cooler.
While you have to avoid putting too much pressure on the processor when cleaning its thermal paste, you can be a bit more carefree when dealing with the heatsink.
Use a paper towel to remove most of the paste before using a microfiber cloth with a bit of rubbing alcohol on it to finish the job.
If the paste is very dry, you can use a plastic spudger to scrape it off the underside of the heatsink.
It is important to know exactly how to reapply thermal paste because this is one part of building a computer that a lot of people get very wrong.
There are many manufacturers in the market offering different thermal pastes, which have different performances.
For instance, you have standard and liquid metal thermal pastes. The latter performs extremely well for heat transfer, but they tend to be electrically conductive, which means you have to be extremely precise during application.
For this reason, I always recommend that the average person sticks to applying standard thermal paste. I recommend Cooler Master MasterGel Pro V2.
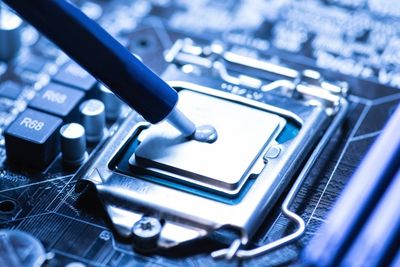
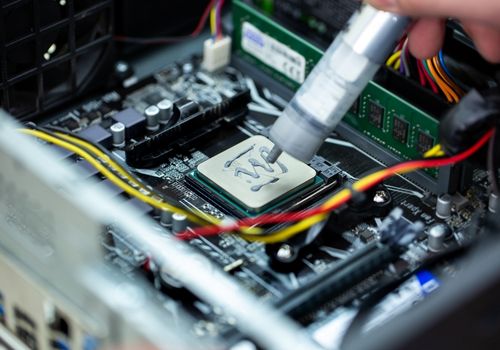
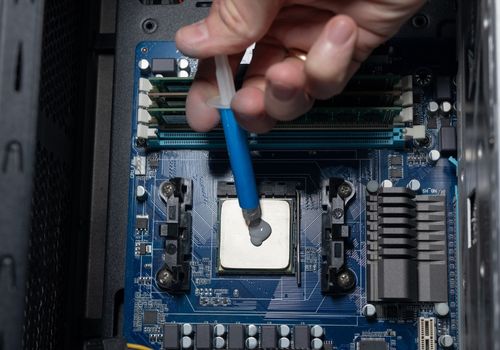
Let's get to actually applying thermal paste. It will usually come in a syringe. Many people mess up when it comes to how much thermal paste to put onto the CPU. Apply a pea-sized bit of thermal paste onto the CPU, in the center. You don't need to spread it out.
Place the bottom of your heatsink onto the CPU, and apply continuous light pressure as you mount it in place. The thermal paste will be evenly spread out as you do this. With too much paste, it can spill over, and you don't want it to get to the CPU pins.
If you're using a new cooler with pre-applied paste, there's no need to do any of this. If you're using the same cooler as before though, you can go ahead!
Thermal paste is a special compound that is applied to the top of your processor to fill the gap between it and the CPU cooler.
It is manufactured with thermal conductivity in mind, so it does well in transferring the heat from the CPU to the heatsink, where the fan or water cooling can carry it away.
When your thermal paste gets old, it starts to dry up and this affects how well it can transfer heat to the cooler. When this happens, your CPU may begin to overheat, which can slow down your computer and even cause sudden shutdowns.
You should definitely remove thermal paste from your CPU when it has been on long enough, or when you suspect it's the cause of your overheating PC.
How often you remove thermal paste depends on several factors.
For instance, which brand of thermal paste are you using? What is the peak temperature of your CPU, and how long is it sustained at high temps? All these questions can change how long your thermal paste lasts.
However, as a general rule, I recommend replacing your thermal paste every two years. However, you will usually be able to get away with replacing it every three years, though I prefer not to give it the chance to dry up.

Cleaning thermal compound off of your CPU is pretty easy. The removal process starts with getting the heatsink off, after which you can clean the old paste. Start with a paper towel and then a microfiber cloth with alcohol on it to completely clean it.
Once you're done, apply the clean paste to the CPU and reinstall the heatsink. Use a small amount to prevent it from spreading outside the CPU block or into the CPU pins.
